This post may contain affiliate links. Please read my disclosure policy.
Bone broth is an incredible health boosting food, not to mention, delicious and comforting!
This Chicken Bone Broth Recipe can be made on the stove top, or my favorite, in the Instant Pot (or other pressure cooker). Instructions for both are included in this post.
Want to stay healthy all year long? This is the answer!
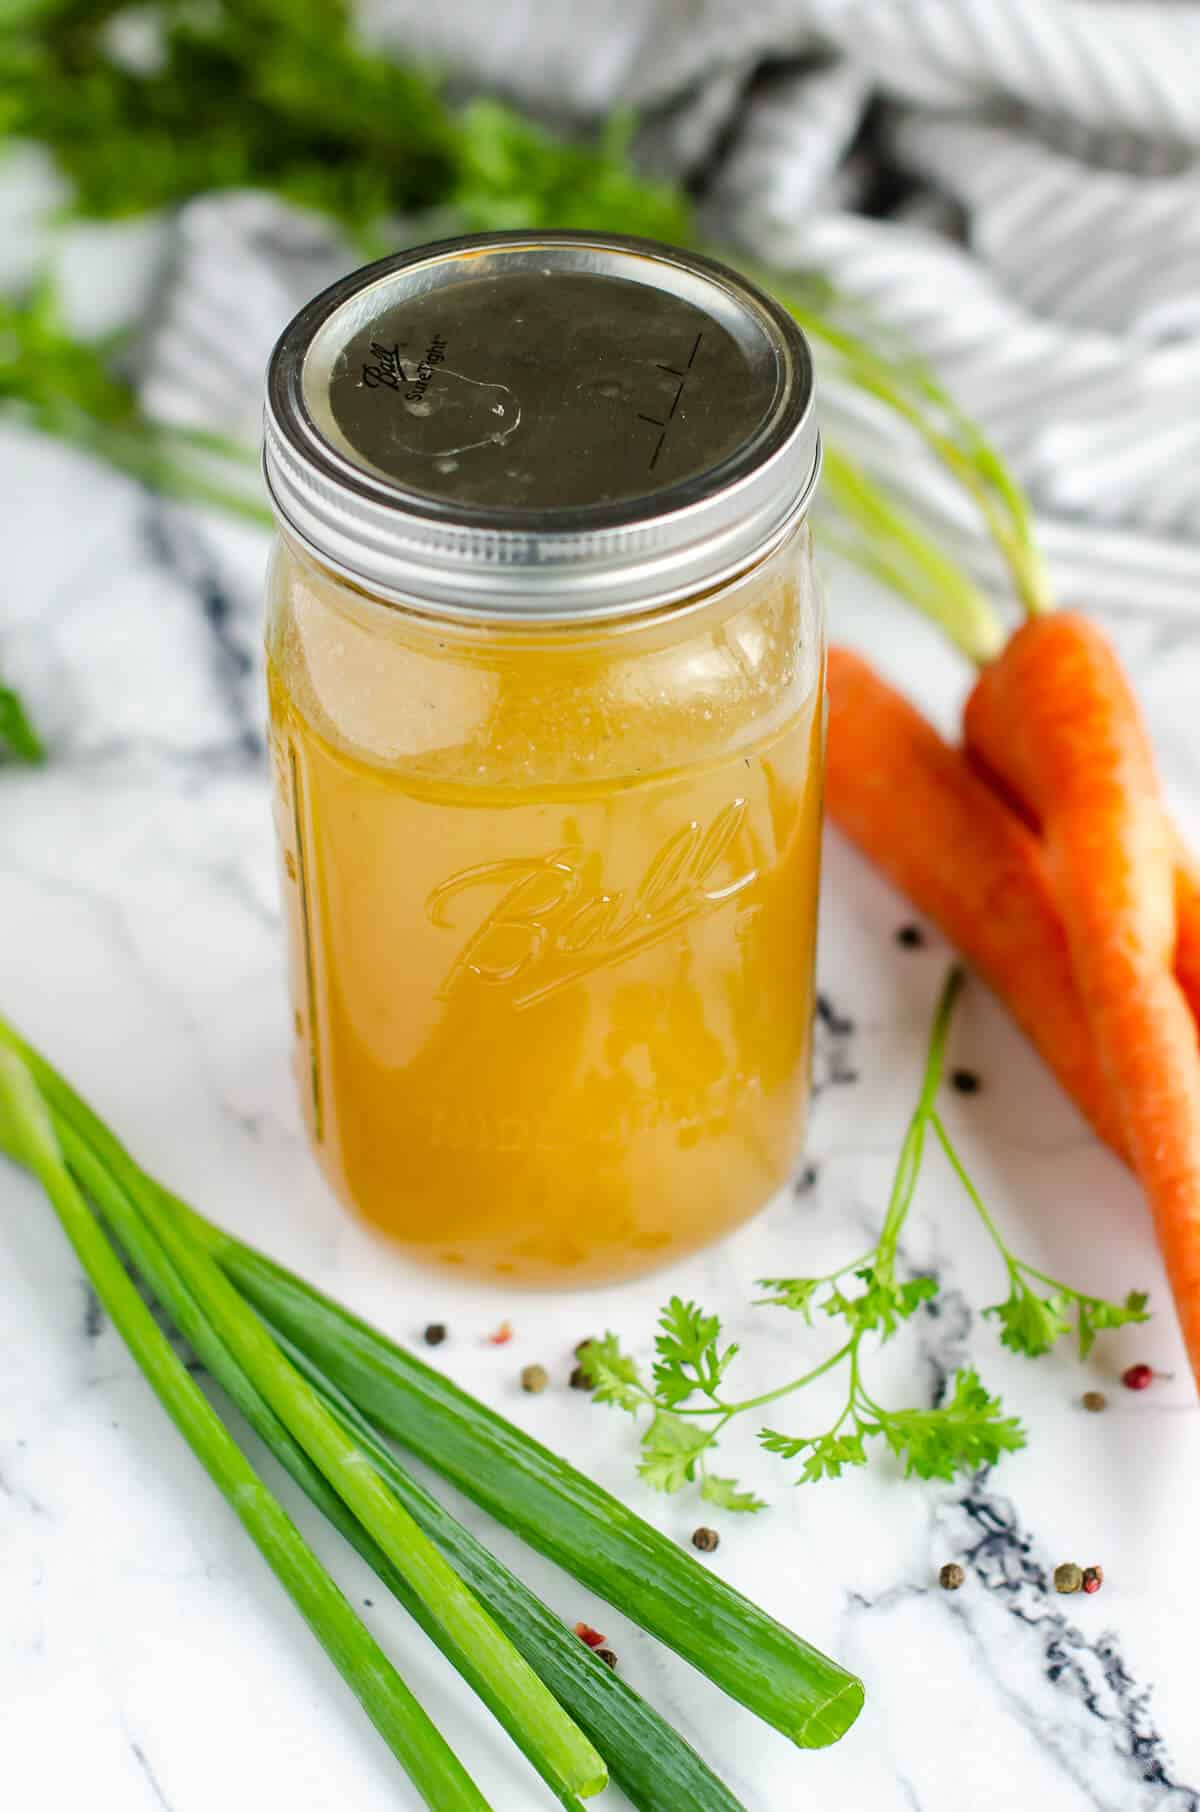
Chicken soup has long been a go-to when you’re feeling under the weather. But you know what’s better than chicken soup? Chicken Bone Broth!
Benefits
Chicken Bone Broth contains a natural ingredient which feeds, repairs, and calms the lining in your gut. The results are a healthier you.
- It’s highly nutritious! Rich in vitamins, nutrients (including calcium, magnesium, phosphorous)
- contains collagen ~ good for your gut, hair, skin, and nails!
- reduces inflammation ~ It can soothe inflammation and relieve arthritis. No matter the reason behind the condition, nourishing yourself with what bones are already made of is one of the best ways to heal.
- Enhances results on Keto, Paleo, and Intermittent fasting diets.
While you can just buy bone broth at the store, the homemade version is much more flavorful and powerful for healing.
Bone broth, broth, and stock
- Broth is made from meat, carrots, onions, celery, and possibly other veggie scraps, and spices. It’s thinner, and clearer than stock. It simmers for a shorter time
- Stock is also made from bones and vegetable scraps, and sometimes meat. It is simmered a longer time, such as 2-4 hours. It makes a deeper colored broth and has more nutrients in it from the bones.
- Bone Broth is made from bones, veggie scraps, vinegar, and simmers 12-48 hours. This longer simmering time extracts all the collagen, amino acids and nutrients from the bones to produce a much healthier and flavorful broth. It typically gels when it’s cooled.
So really the main difference between all three is the time it’s cooked and the healing properties.
Ways to use
- drink it straight up! It’s warm and comforting, and tastes really good. It’s great for everyday immune building, or when you’re coming off of being sick. It will replace nutrients
- Soups/Stews/Chili. Anytime a recipe calls for chicken broth, I’ll use bone broth instead. You’re just adding more flavor and health benefits every time you use it.
- Rice/cauli rice. Instead of using water to make your rice in, use bone broth.
- Steaming vegetables
- Mashed Potatoes/mashed cauliflower
- Marinades
Instant Pot Instructions
Making this in the instant pot is a huge time saver and it is my go-to way to do it. But, if you don’t have a pressure cooker, no worries! You can do this on the stove and it’s mostly hands off. It just takes longer to get the results.
STEP ONE: Place the bones, and other chicken parts (if using) in the instant pot.
STEP TWO: Add the carrots, celery, onions, and garlic. Add water to cover the bones, not going above the max fill line. Add vinegar and let stand 30 minutes.
STEP THREE: Cover the pot, put the valve in the ‘sealed’ position. Cook on manual for 120 minutes. Use the natural release method.
STEP FOUR (OPTIONAL): Once the pressure is released, add parsley and let stand for 10 minutes.
STEP FIVE: Strain the broth, cool, and refrigerate or freeze.
Stove top instructions
STEP ONE: Start with putting the bones and carcass of the chicken into a large stockpot. If you have gizzards, the neck, or feet (I know, gross) then add them in too.
STEP TWO: Add water to cover the chicken pieces. Depending on how big your stock pot is determines the amount of water. Add in some carrots, celery, onion and garlic. Then add a couple tablespoons of vinegar and let it stand for 30 minutes to 1 hour.
STEP THREE: Bring it to a boil and remove the foamy stuff that floats to the top. Reduce the heat, cover and simmer for 12-24 hours. The longer you cook the stock the richer and more flavorful it will be.
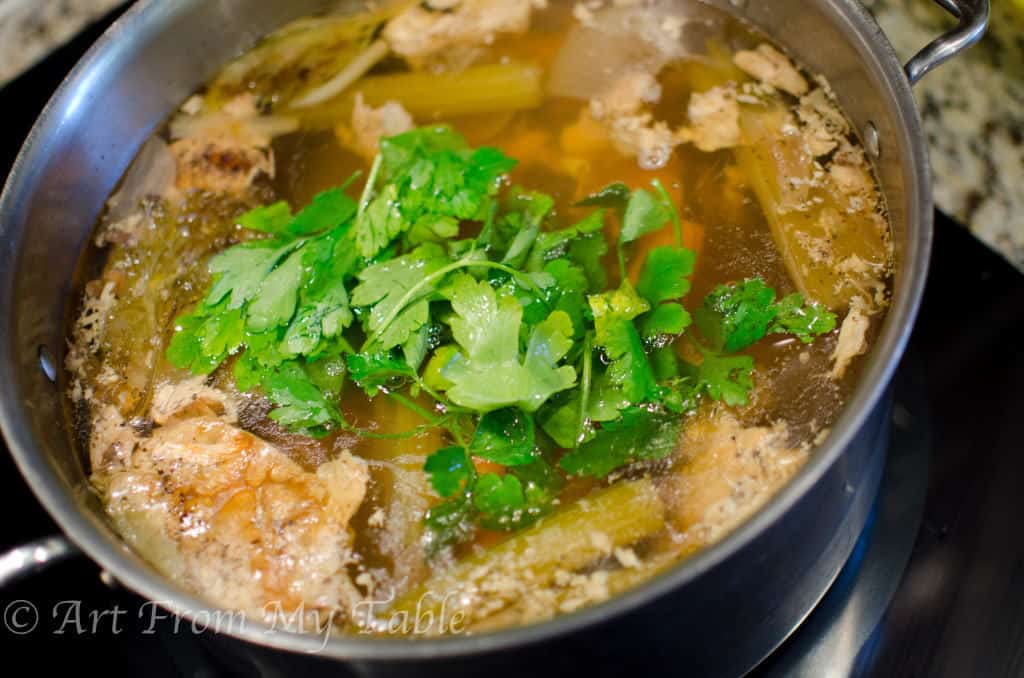
STEP FOUR (OPTIONAL): The last 10 minutes of cooking time, add in parsley. This will impart additional mineral ions to the broth.
STEP FIVE: Strain out the veggies and bones etc with a slotted spoon or a fine-mesh sieve. Cool, and refrigerate or freeze.
Notes on Chicken Bone Broth
- You can use white vinegar or Apple Cider Vinegar
- I typically add some mineral salt after cooking to bring out more flavor.
- Keep a ziplock bag in the freezer for veggie scraps. Anytime you’re cutting or peeling vegetables, throw the scraps in there. They are a wonderful addition.
- To freeze, let it completely cool, transfer it into containers, freeze. Leave room for expansion. If you use a mason jar, don’t put screw the lid on too tightly before the broth is frozen. I measure mine into 2 cup portions because typically, recipes call for “a can of broth”
Other recipes you can use chicken bone broth in
Chicken Bone Broth 2 ways
Equipment
- Pressure cooker
Ingredients
- 3 lbs organic chicken bones neck, back, breastbone, wings, feet, etc.
- 4 quarts cold water
- 2 Tbs vinegar
- 1 large onion coarsely chopped
- 2 carrots peeled and coarsely chopped
- 3 celery sticks coarsely chopped
- 1 bunch parsley
- 3 cloves garlic
Instructions
In the instant pot
- Place chicken and/or bones into the instant pot.
- Add onion, carrots, garlic and celery. Add water to cover, do not go above the max fill line. Add vinegar, let stand 30 minutes
- Place the valve in the sealed position. Use manual pressure for 120 minutes with natural release.
- Optional: Once pressure is released, add parsley and let stand for 10 minutes.
- Remove bones and vegetables with a slotted spoon.
- Strain broth through a fine mesh sieve.
- Cool, and store in the freezer.
On the stove top
- Place chicken bones into a large stock pot.
- Add onion, carrots, garlic and celery. Add water to cover, add vinegar, let stand 30 minutes
- Bring to a boil and remove the foam that floats to the top. reduce heat, cover and simmer for 12 to 24 hours.
- Optional: Add parsley the last 10 minutes of cooking.
- Remove bones and vegetables with a slotted spoon.
- Strain broth through a fine mesh sieve.
- Cool, and store in the freezer.
Notes
- You can use white vinegar or Apple Cider Vinegar
- I typically add some mineral salt after cooking to bring out more flavor.
- Keep a ziplock bag in the freezer for veggie scraps. Anytime you’re cutting or peeling vegetables, throw the scraps in there. They are a wonderful addition.
- To freeze, let it completely cool, transfer it into containers, freeze. Leave room for expansion. If you use a mason jar, don’t put screw the lid on too tightly before the broth is frozen. I measure mine into 2 cup portions because typically, recipes call for “a can of broth”


I love that!! I’ve heard you can give the bones to your dog. We don’t have one, but I should find a neighbor dog. Great idea!! And yes, the internet is amazing.
I put the soft bones & such from the strainer in my blender with a little (just enough to blend) purified water and my dog loves having a spoonful of this treat added to his food ! Soooo we waste NOTHING! I am so blessed to have so many wonderful resources on the internet to “find” the way grandma did everything!